Hidden Camera Detection Methods Compared: Which Works Best

Disclosure: This page contains affiliate links. We may earn a commission at no extra cost to you. We only recommend products we've tested or thoroughly researched. Full disclosure.
Need the full method stack? Start with our How to Find Hidden Cameras: Complete 2026 Detection Guide, then use this page for scenario-specific steps.
Reports of hidden cameras in short-term rentals, hotel rooms, and changing facilities have risen sharply in recent years. For Airbnb guests, hotel travelers, and anyone staying in unfamiliar spaces, knowing how to sweep a room for surveillance devices is no longer paranoia — it’s practical self-defense.
The challenge? Hidden cameras have gotten smaller, cheaper, and harder to spot. They hide inside smoke detectors, USB chargers, alarm clocks, picture frames, and even screw heads. Some transmit video wirelessly. Others record to internal storage with no signal at all.
That means no single detection tool catches everything. This guide breaks down the four main detection methods, compares them head-to-head, and recommends the best approach for your situation and budget.
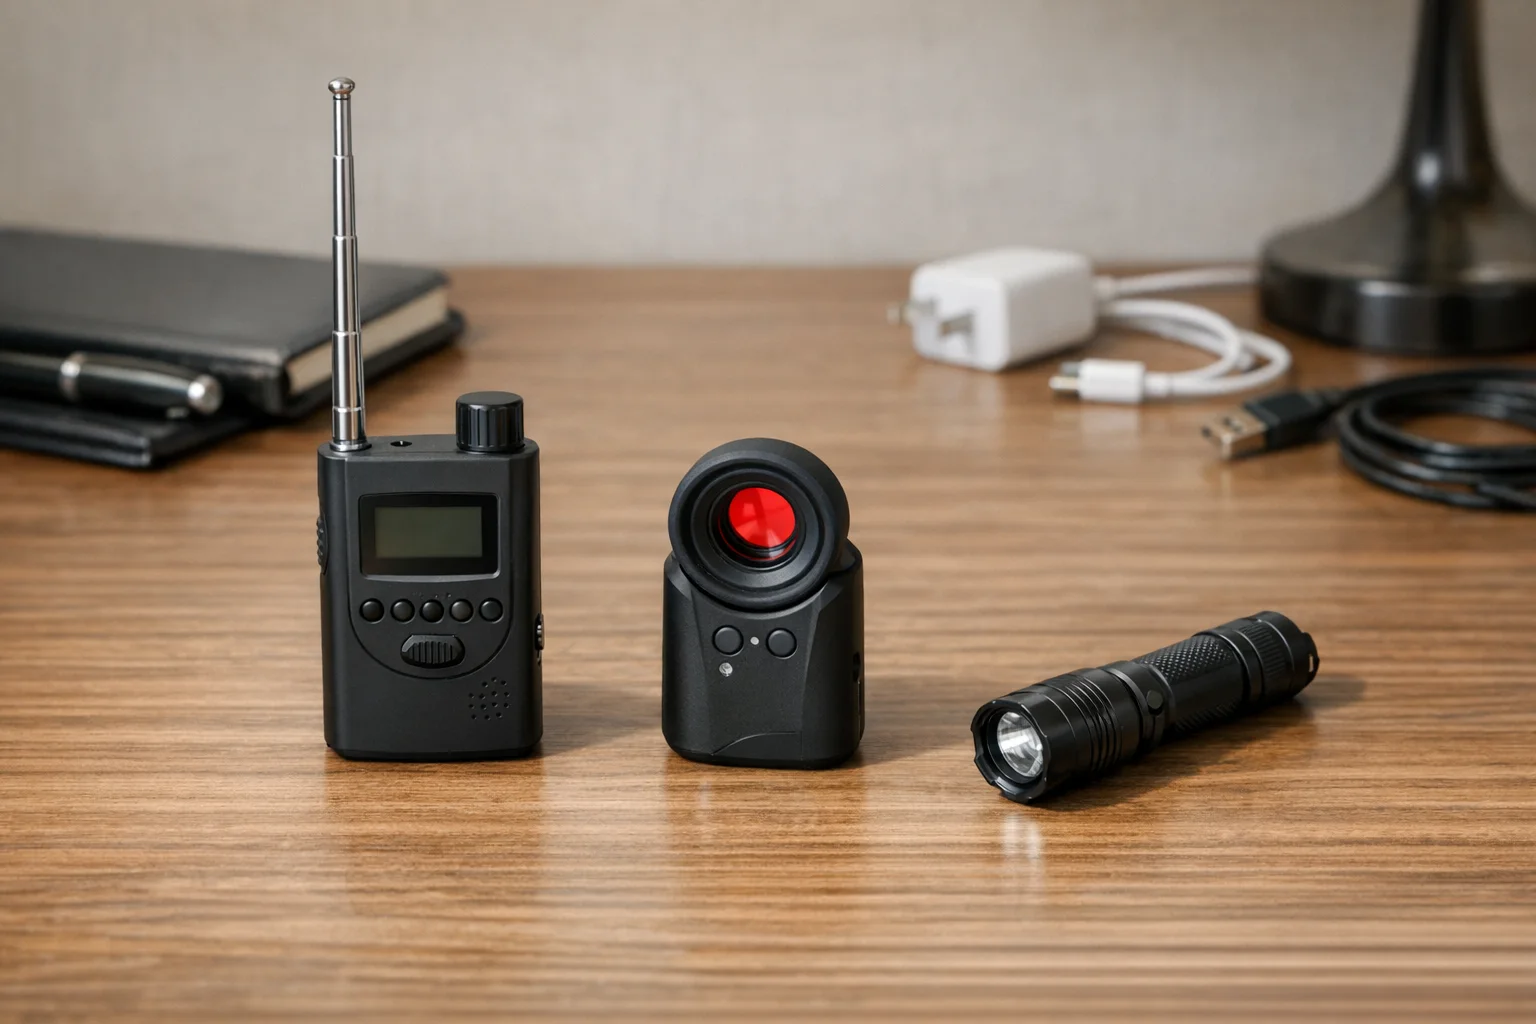
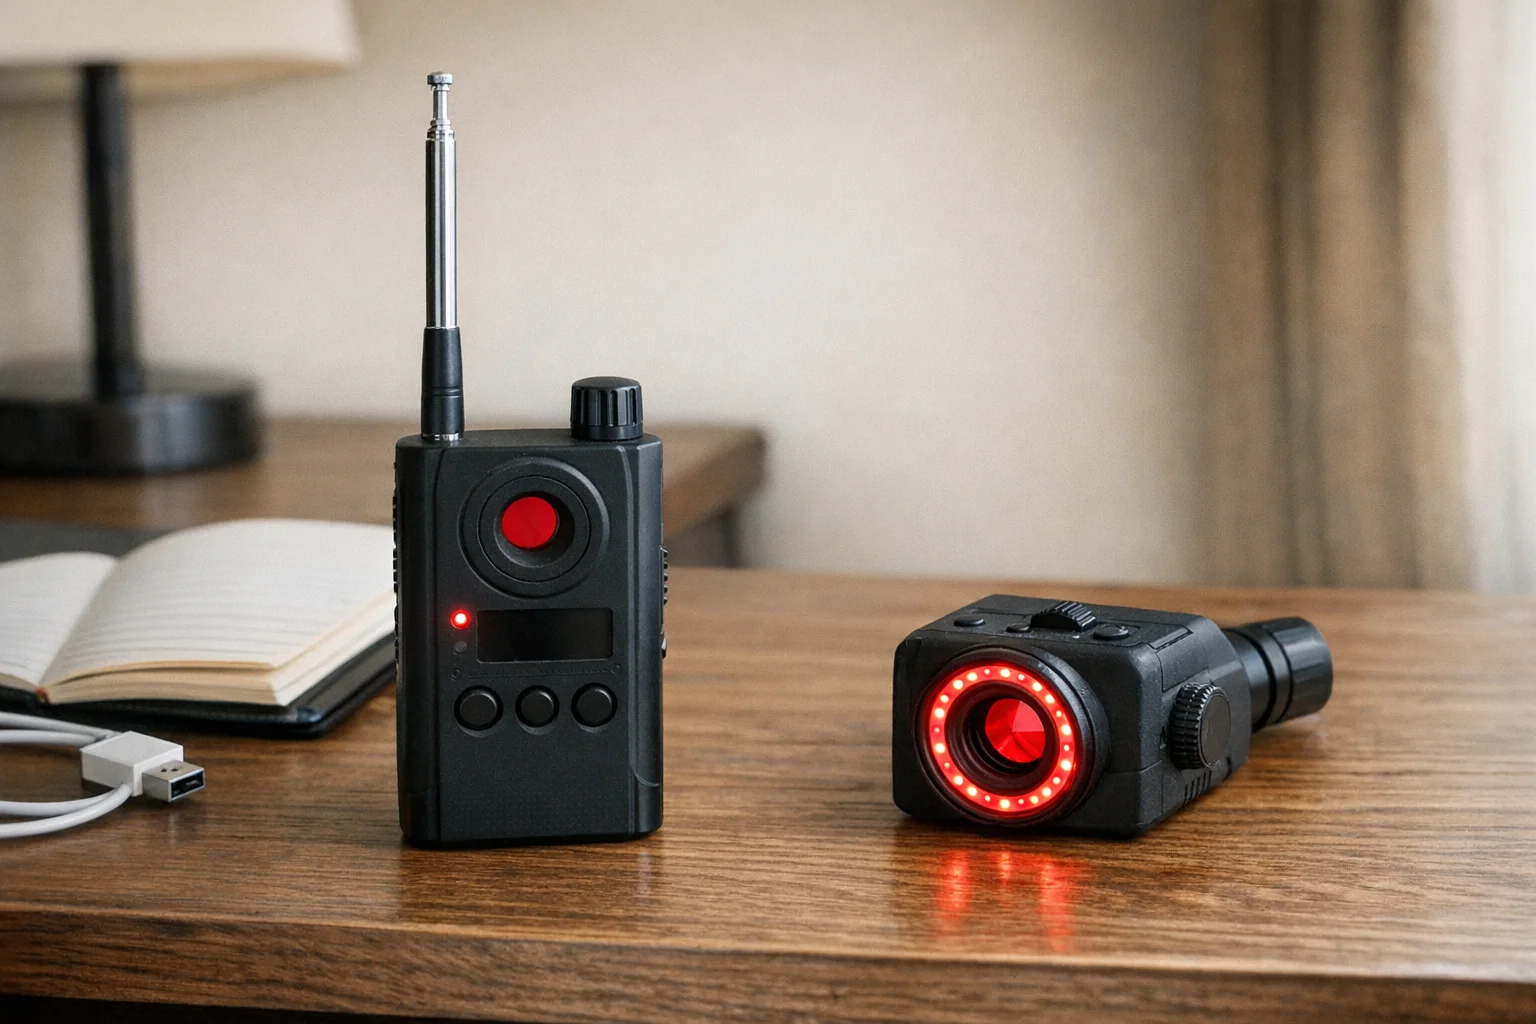
Method 1: RF (Radio Frequency) Detectors
How It Works
An RF detector scans for radio signals in the frequency ranges commonly used by wireless cameras — typically 1 MHz to 8 GHz. When a wireless camera transmits video to a receiver or over Wi-Fi, it emits a detectable radio signal. The detector picks up that signal through a sensitive antenna and alerts you with a visual indicator, audible tone, or vibration. Signal-strength meters help you narrow down the exact location by getting stronger as you move closer to the source.
Pros
- Catches wireless cameras actively transmitting video — the most common type, accounting for roughly 60% of the market
- Can detect through walls and obstacles at close range
- Sweeps large areas relatively quickly compared to visual inspection
- Many models are multi-function, combining RF scanning with other detection modes
- No technical expertise required — signal-strength indicators guide you toward the source
Cons
- Completely blind to wired cameras and cameras recording to internal SD cards
- High false-positive rate — picks up Wi-Fi routers, Bluetooth speakers, smart TVs, and other wireless electronics
- Requires proximity — most effective within 3 feet of the transmitting device
- Environmental interference — crowded Wi-Fi environments make it harder to isolate suspicious signals
- Cameras must be actively transmitting at the time of your scan
Cost
| Budget Tier | Price Range | What You Get |
|---|---|---|
| Budget | $20–$40 | Basic single-band RF scanning, high false-positive rate |
| Mid-range | $50–$100 | Multi-band scanning, sensitivity adjustment, often multi-mode |
| Professional | $100–$250+ | Wide-spectrum scanning, digital signal analysis, combination RF + lens |
Recommended Products

JMDHKK K18 Pro
Best Value Multi-Mode Detector
Combines RF scanning (1 MHz–6.5 GHz), magnetic field detection, and a built-in lens finder in one portable package
- 1 MHz–6.5 GHz RF scanning
- Magnetic field detection
- Built-in lens finder
JMDHKK K68+
Advanced RF + Cellular Detection
Detects 1.2 GHz, 2.4 GHz, and 5.8 GHz wireless cameras plus cellular signals from SIM-card-based bugs and GPS trackers
- Multi-band wireless detection
- Cellular signal detection
- GPS tracker finder
Effectiveness Rating: 7/10
Strong against wireless cameras; useless against wired or offline devices. Best when combined with another method.
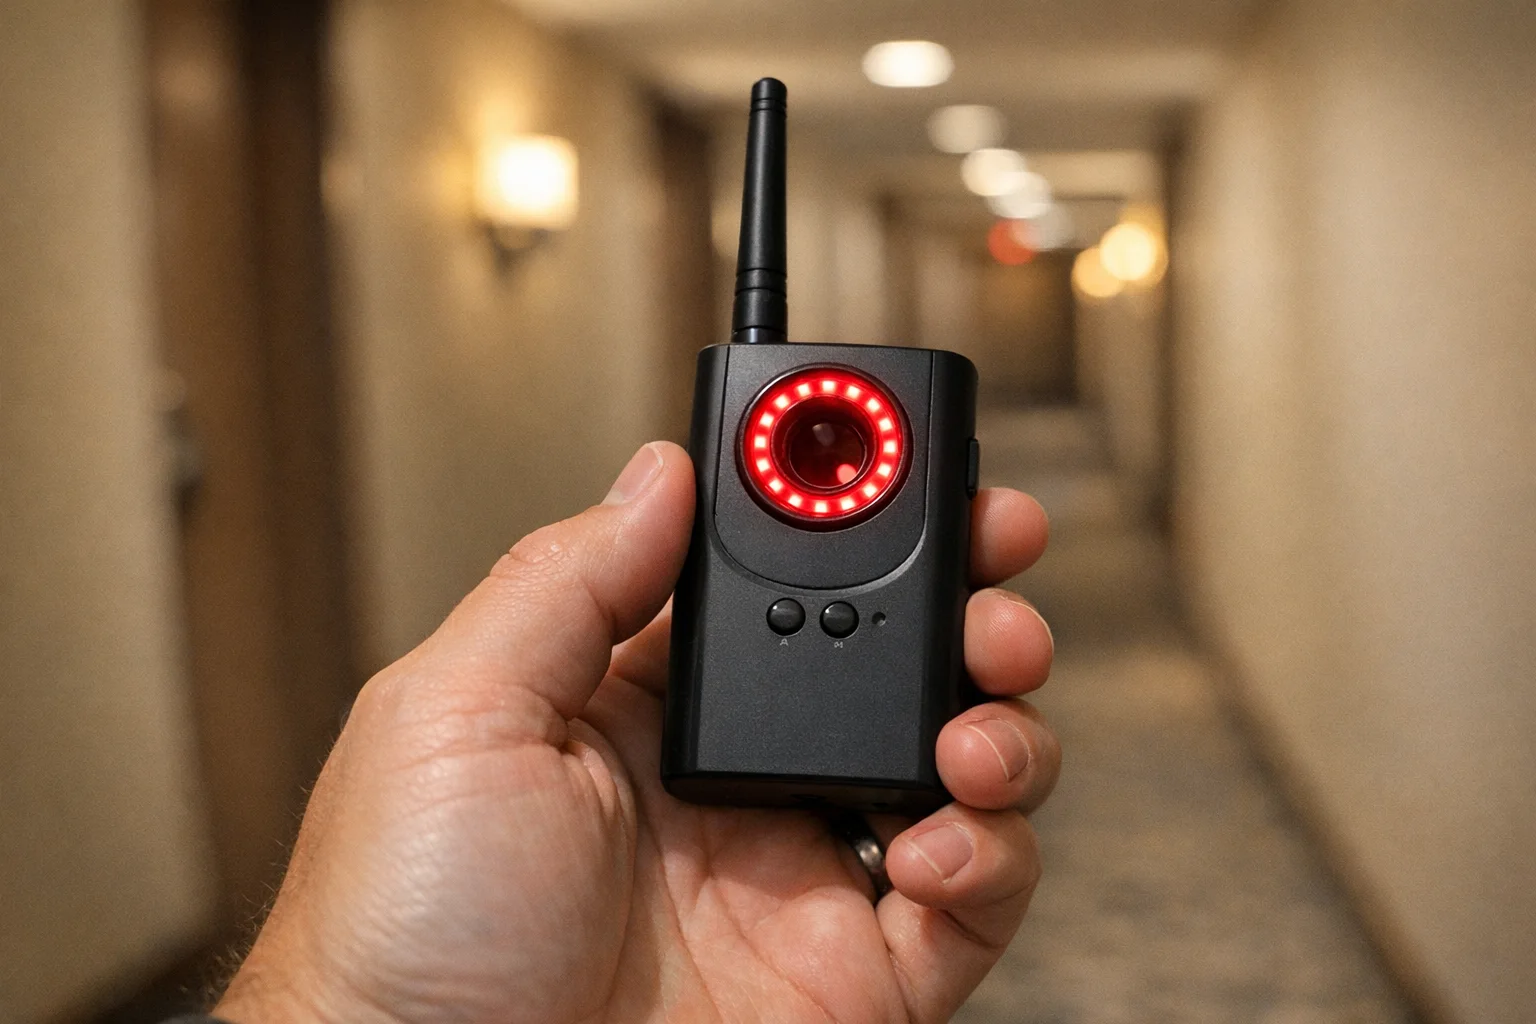
Method 2: Lens Finders (Optical Detectors)
How It Works
A lens finder emits a focused beam of LED or laser light (usually red or infrared) into the room. When that light hits a camera lens — even a tiny pinhole lens — it bounces back with a distinctive bright reflection visible through the device’s viewfinder or on a small screen. This works because camera lenses are specifically designed to gather light, creating a retroreflection effect that’s brighter and more focused than reflections from flat surfaces.
The key advantage: this works whether the camera is on or off, wired or wireless, transmitting or recording locally. If there’s a lens, the light bounces back.
Pros
- Detects both active and inactive cameras — no power or wireless signal needed
- Catches wired cameras that RF detectors miss entirely
- Simple to use — look through the viewfinder and scan for bright spots
- Compact and travel-friendly — most models are pocket-sized
- No interference from other electronics
Cons
- High false-positive rate from reflective surfaces — mirrors, glass, polished metal, chrome fixtures, and LED indicator lights
- Requires close range and careful angles — you need to be within about 3 feet
- Tedious in reflective environments — bathrooms and modern kitchens produce many false positives
- Eye strain during extended searches
- Doesn’t identify the type of device — tells you “there’s a lens here” but not whether it’s a camera
Cost
| Budget Tier | Price Range | What You Get |
|---|---|---|
| Budget | $15–$40 | Basic LED-based detector, smaller LED array, shorter range |
| Mid-range | $50–$120 | Brighter LED array, better viewfinder optics, adjustable flash patterns |
| Professional | $150–$250 | High-intensity multi-LED array, precision optics, professional-grade detection |
Recommended Products

SpyFinder Pro
Gold Standard Lens Finder
Bright LED array with precision viewfinder — detects camera lenses whether powered on or off with 99% accuracy
- 99% detection accuracy
- Works on unpowered cameras
- Pocket-sized for travel
The JMDHKK K18 Pro (listed above under RF detectors) also includes a built-in lens finder mode, making it a versatile two-in-one option for budget-conscious travelers.
Effectiveness Rating: 8/10
The most reliable method for finding cameras regardless of their power or connectivity state. Loses points for the patience required and false positives in reflective rooms.
Method 3: Thermal Imaging
How It Works
Every electronic device generates heat when it’s running. A thermal imaging camera detects infrared radiation emitted by objects and displays a heat map of the room, with warmer spots appearing brighter. A hidden camera — even a tiny one — produces a small, localized warm spot that stands out against the ambient temperature of a wall, shelf, or fixture.
Advanced research systems (like WashU’s HeatDeCam project) go further by using neural networks to identify the specific heat dissipation patterns created by camera components, distinguishing spy cameras from ordinary warm electronics.
Pros
- Detects powered cameras regardless of transmission method — wired, wireless, Wi-Fi, and locally-recording
- Works in complete darkness
- Can reveal cameras hidden inside objects — heat conducts through housings and surfaces
- Visual and intuitive output — warm spots on a cold background are easy to identify
- Useful beyond camera detection — spots listening devices, GPS trackers, and other powered electronics
Cons
- Expensive — consumer thermal cameras start around $130 for phone attachments, with standalone units $300–$1,000+
- Requires the camera to be powered on — a camera that’s off won’t generate detectable heat
- Ambient temperature affects accuracy — in warm rooms, the differential may be too small to detect
- Multiple heat sources cause confusion — every powered device shows up as a warm spot
- Steep learning curve — interpreting thermal images accurately takes practice
- Bulky for travel
Cost
| Budget Tier | Price Range | What You Get |
|---|---|---|
| Phone attachment | $100–$200 | Basic thermal overlay on your smartphone screen; limited resolution |
| Mid-range standalone | $300–$600 | Dedicated thermal camera with better resolution and sensitivity |
| Professional | $800–$2,000+ | High-resolution imaging, advanced analytics |
Recommended Products
FLIR ONE Pro
Best Thermal Phone Attachment
Higher-resolution phone attachment from the leading thermal imaging brand — better sensitivity for detecting small heat signatures from hidden electronics
- Professional thermal resolution
- Detects heat signatures through walls
- USB-C phone attachment
Effectiveness Rating: 6/10
Powerful in theory, but the high cost, learning curve, and environmental limitations make it impractical as a primary detection method for most travelers. Best as a supplementary tool for those with the budget and expertise.
Method 4: Smartphone Detection Apps
How It Works
Smartphone apps use your phone’s built-in sensors to scan for hidden cameras through several approaches:
- Infrared detection: Your phone’s front-facing camera can often see infrared (IR) light that’s invisible to the naked eye. Many hidden cameras use IR LEDs for night vision, and these show up as a faint purple or white glow on your phone screen.
- Magnetic field scanning: Your phone’s magnetometer detects electromagnetic fields generated by electronic components.
- Network scanning: The app checks your Wi-Fi network for connected devices and flags any that don’t match expected device types.
- Lens reflection assistance: Some apps use your phone’s flashlight and camera together to help spot lens reflections.
If you want a practical walk-through before buying hardware, follow our phone detection step-by-step guide.
Pros
- Free or very cheap — most apps cost nothing to download
- Always with you — no extra hardware to pack
- Network scanning is genuinely useful — identifying unknown devices on Wi-Fi can reveal connected cameras
- IR detection works for night-vision cameras
- Low barrier to entry — anyone with a smartphone can try it immediately
Cons
- Unreliable as a standalone method — estimated at only 50–60% reliable
- Magnetic field scanning produces excessive false positives — speakers, chargers, wiring in walls
- IR detection only works on cameras with infrared LEDs — many modern cameras don’t use IR
- Effectiveness varies wildly by phone model
- Network scanning only catches Wi-Fi-connected cameras
- App quality is inconsistent — the app stores are flooded with poorly made detection apps
- No substitute for dedicated hardware
Cost
| Option | Price | What You Get |
|---|---|---|
| Free apps | $0 | Basic IR scanning, magnetic field detection, network scanning with ads |
| Premium apps | $3–$10 | Ad-free experience, advanced scanning features |
| Phone + app | $0 (existing phone) | No additional hardware cost |
Recommended Apps
- Hidden Camera Detector (Peek) — Free for iOS and Android. Combines IR detection, magnetic scanning, and network analysis.
- Fing Network Scanner — Free. Excellent for identifying every device connected to a Wi-Fi network.
Effectiveness Rating: 4/10
Useful as a free first pass — especially the IR check in a dark room and network scanning — but far too unreliable to trust on its own.
Head-to-Head Comparison Table
| Feature | RF Detector | Lens Finder | Thermal Imaging | Smartphone App |
|---|---|---|---|---|
| Detects wireless cameras | Yes | Yes | Yes (if powered) | Partial (network scan) |
| Detects wired cameras | No | Yes | Yes (if powered) | No |
| Detects cameras that are off | No | Yes | No | No |
| Detects cameras with no IR | Yes | Yes | Yes | No |
| False-positive rate | High | Medium-High | Medium | Very High |
| Ease of use | Easy | Easy | Difficult | Easy |
| Travel-friendly | Yes | Yes | No | Yes (no extra gear) |
| Typical cost | $50–$150 | $50–$200 | $130–$1,000+ | Free–$10 |
| Detection range | Up to 5 ft | Up to 3 ft | Up to 10 ft | Varies |
| Works in darkness | Yes | Needs viewfinder | Yes | Partial (IR only) |
| Effectiveness rating | 7/10 | 8/10 | 6/10 | 4/10 |
Which Method for Which Situation
Quick Airbnb Check-In (5–10 minutes, minimal gear)
Use: Smartphone app + visual inspection
You just arrived and want a fast sweep before settling in. Open a network scanning app like Fing to check for unknown devices on the Wi-Fi. Then turn off the lights and use your phone camera to scan for infrared LEDs, paying special attention to smoke detectors, clocks, USB chargers, and anything pointed at the bed or bathroom.
Confidence level: Low-moderate. You’ll catch obvious wireless cameras and IR-equipped night-vision devices, but you’ll miss a lot.
Weekend Getaway (bringing a small kit)
Use: RF detector + lens finder
This is the sweet spot for most travelers. Pack a multi-mode detector like the JMDHKK K18 Pro, which combines RF scanning and lens detection in one device. Sweep the room with RF scanning first (after turning off your own devices), then follow up with the lens finder in key areas — bathroom, bedroom, and anywhere with a direct line of sight to the bed or shower.
Confidence level: High. This combination addresses both wireless and non-wireless cameras.
Extended Stay or High-Security Concern
Use: All four methods in sequence
Start with the smartphone network scan to identify connected devices. Follow with a systematic RF sweep of the entire space. Then do a thorough lens-finder pass in all sensitive areas. If you have a thermal camera, use it as a final check on any suspicious spots. Document anything you find with photos.
Confidence level: Very high. Layering all methods minimizes the gaps in any single approach.
Corporate Travel or Executive Protection
Use: Professional-grade RF detector + dedicated lens finder + thermal camera
Invest in a professional-grade wide-spectrum RF scanner, a dedicated lens finder like the SpyFinder Pro, and a thermal attachment for your phone. Conduct a full sweep of meeting rooms and hotel rooms before any sensitive conversations. Consider hiring a professional TSCM (Technical Surveillance Countermeasures) team for high-stakes situations.
Confidence level: Near-complete, especially with professional TSCM support.
The Recommended Combo Approach
For most travelers, here’s the highest-value detection kit you can assemble:
The Traveler’s Detection Kit (~$80–$200)
Step 1 — Free baseline (phone app): Before you buy anything, download a network scanning app (Fing) and a hidden camera detection app. Use these for the free IR and network checks.
Step 2 — Core detection (~$60–$80): Add a multi-mode detector like the JMDHKK K18 Pro. This single device gives you RF scanning and basic lens detection, covering the two most important methods in one portable package.
Step 3 — Upgrade for serious sweeps (~$200 total): Add a dedicated lens finder like the SpyFinder Pro for more reliable optical detection. Use it alongside the RF detector for maximum coverage.
Step 4 — Premium tier (~$350+ total): Add a thermal phone attachment like the FLIR ONE Pro for a third layer of detection.
The 5-Minute Room Sweep Protocol
- Network scan (1 min): Connect to the property’s Wi-Fi, open Fing, and identify all connected devices. Flag anything unfamiliar.
- IR check (1 min): Turn off all lights. Open your phone camera and slowly scan the room, looking for faint purple/white glows from infrared LEDs.
- RF sweep (2 min): Turn on your RF detector. Set it to moderate sensitivity. Walk slowly through the room, paying attention to signal spikes near smoke detectors, clocks, chargers, outlets, and anything with a direct view of the bed or bathroom.
- Lens check (1 min): Use your lens finder in the most sensitive areas — bathroom, bedroom, and anywhere you change clothes. Look for bright, persistent reflections that stay fixed as you move.
Frequently Asked Questions
Do hidden camera detector apps actually work?
They provide limited functionality. The IR detection feature genuinely works for spotting night-vision cameras in a dark room — your phone camera can see infrared light that’s invisible to your eyes. Network scanning apps like Fing are genuinely useful for identifying unknown devices on Wi-Fi. However, the magnetic field scanning feature produces so many false positives from everyday electronics that it’s practically useless. Overall, apps are estimated at 50–60% reliable. Use them as a free first check, not as your only protection.
Can a hidden camera work without Wi-Fi?
Yes. Many hidden cameras record video to an internal micro-SD card and don’t transmit any wireless signal at all. The person who placed the camera retrieves the footage later by physically collecting the card. These cameras are invisible to RF detectors and network scanning apps. Only a lens finder or thermal camera (if the device is powered) can detect them.
What’s the single best device to buy if I can only afford one?
A multi-mode detector that combines RF scanning with lens detection, such as the JMDHKK K18 Pro (~$60–$80). It won’t match the optical quality of a dedicated lens finder like the SpyFinder Pro, but it covers both wireless detection and basic optical detection in one affordable, portable device.
Where are hidden cameras most commonly placed?
Hidden cameras are most frequently found in locations with a direct line of sight to areas where people undress or have private moments. Common hiding spots include smoke detectors (the most common location), alarm clocks facing the bed, USB chargers or power adapters in bedrooms and bathrooms, wall outlets and light switch covers, picture frames and wall art, air purifiers, shower heads and bathroom fixtures, and television sets or cable boxes.
How often should I sweep a rental property?
Sweep once when you first arrive — before unpacking or settling in. If you’re staying for an extended period, do a quick follow-up sweep if you leave the property and return (a compromised host could place devices while you’re out). For shorter stays, a single thorough sweep at check-in is usually sufficient.
Summary
No single hidden camera detection method is foolproof. RF detectors excel at finding wireless cameras but miss anything wired or offline. Lens finders catch cameras regardless of power state but require patience and produce false positives in reflective environments. Thermal imaging offers a scientific approach but costs more and demands expertise. Smartphone apps provide a free starting point but lack the reliability of dedicated hardware.
The most effective strategy layers multiple methods. For most travelers, an RF detector paired with a lens finder (total investment: $80–$200) provides strong protection. Add a free smartphone app for network scanning and IR checks, and you’ve covered the vast majority of hidden camera scenarios you’re likely to encounter.
Your privacy is worth the investment. A $60 multi-mode detector takes up less space than a phone charger and gives you the ability to sweep any room in under five minutes.
Learn how to put these methods into practice with our 5-minute hotel room sweep guide or our Airbnb-specific detection guide.
Smart Picks
Smart Picks for This Guide
We curated this short shelf from high-performing recommendations for faster buying decisions.
SpyFinder Pro
Most accurate lens detection
Best when you need confident detection of hidden wired and non-transmitting devices.
- Consistent lens performance
- Clear pass/fail indicator
- Strong build quality
JMDHKK K18+
Most complete detection method
Four detection modes for quick room sweeps in hotels, Airbnbs, and rentals.
- RF + lens + magnetic + audio
- Affordable
- Simple sensitivity controls
Navfalcon 2025 RF Detector
Best value RF upgrade
Higher sensitivity for RF-focused scans and fewer misses on battery-powered units.
- Improved RF filtering
- Longer scan reach
- Budget-sensitive option
We earn commissions from qualifying Amazon purchases. Full disclosure.
Get the free checklist
Printable hidden camera detection checklist + gear deals. Free, no spam.
Free updates. Unsubscribe anytime.
Frequently Asked Questions
Do hidden camera detector apps actually work?
Can a hidden camera work without Wi-Fi?
What is the single best detection device if I can only afford one?
Where are hidden cameras most commonly placed?
How often should I sweep a rental property?
What to Do Next
Related Guides

Best Hidden Camera Detector Apps (2026): iPhone & Android
The best hidden camera detector apps for iPhone and Android — what they find, what they miss, and when to upgrade to dedicated hardware.
Read guide Workplace Surveillance Detection in Your Home Office (2026)
Methods to identify covert workplace monitoring at home, from software logs to unusual network activity and hidden devices, while protecting your privacy.
Read guide
How to Find Hidden Cameras with iPhone and Android (2026)
Use your iPhone or Android to detect hidden cameras with built-in tools. Step-by-step: flashlight sweep, IR check, WiFi scan, and when to upgrade to gear.
Read guide